
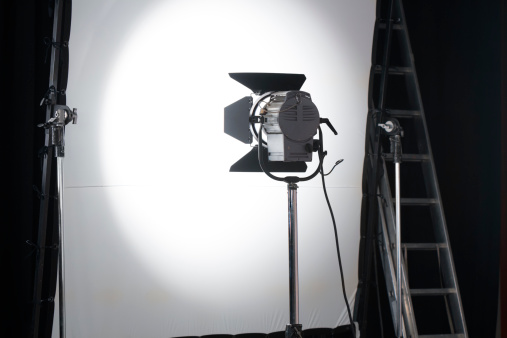
Whether using a DSLR or point-and-shoot, being able to understand and manipulate different settings can help you take better photographs, in any situation or environment. One setting that is misunderstood or overlooked in basic photography is the white balance: the look of colors and the “temperature” of the photographs based off of the white in the picture.

It’s easy to see what happens when you adjust the white balance on your photos. In the past, you have probably noticed a photo glow with a yellow tint, especially in low-light, incandescent settings. Or, your photos look very blue under fluorescent lights, giving a cool but artificially bright look to photos. Because digital cameras process photographs based on light sensors, they do not immediately adjust the white balance like our eyes do naturally. Instead, they need to be told to adjust, either through pre-set settings (such as “flash” or “outdoors”), or by “reading” white into their sensors.
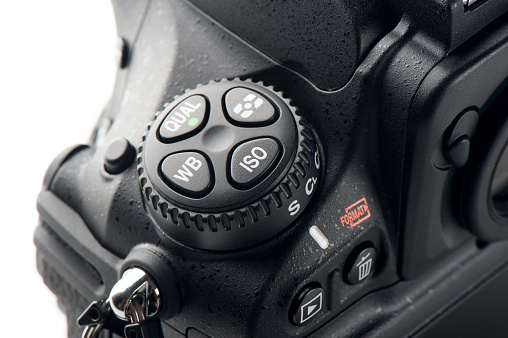
Knowing this, you can make sure that the colors stay true by adjusting the white balance. It’s easy to adjust in most cameras, due to Automatic White Balance (AWB) settings on digital cameras. Simply point and shoot your camera at something completely white: your camera will then recognize the white color and adjust according to it.
At the same time, you can use this trick to help you create creative photographs. Maybe the yellow tint is needed to add a warm atmosphere to your photo. You can choose to not adjust the white balance, or trick your camera into reading something yellow as white. The same can be done with bluer hues.
Get the most out of your camera by adjusting the white balance. For more photograph tips, contact us.
The post Improve Your Photographs By Adjusting the White Balance appeared first on Advanced Media Integration.