
ISO and shutter speed, a beginners guide. Photography can be overwhelming for a new photographer. There are so many terms and concepts to understand that if not implemented properly, can throw your whole photograph off. If your goal is to take better photographs, it’s important to understand shutter speed and ISO. So, this post will be a beginner’s guide to understanding what these terms actually mean and how it relates to photography. Then, it will explore how these two terms work together to produce amazing photographs.
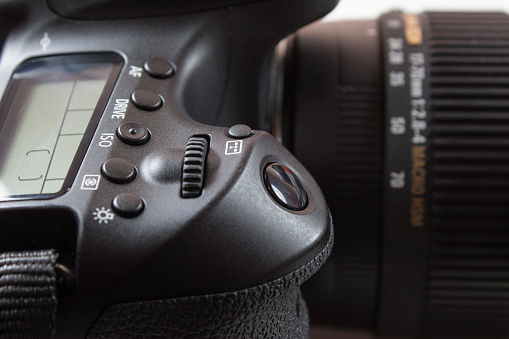
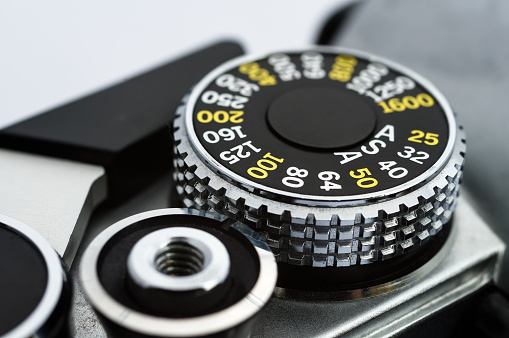
ISO: This is the camera’s sensitivity to light. A DSLR camera ISO can range from 100 all the way up to 6400. A lower ISO setting is generally used when there is a lot of available light. So, if it is sunny outside, you would set your ISO to 100. A high ISO setting is used for darker situations. So, you would use an ISO of 3200 if you were shooting at a concert or if you were in some sort of indoor setting.
Shutter speed: This is the length of time the digital sensor is exposed to light. The lower the shutter speed, the more light that is being exposed to the digital sensor. Similarly, the higher the shutter speed, the less light that is being exposed to the digital sensor. For example, if your shutter speed is set to 1/60th of a second, then the camera will have a longer exposure time, thus allowing more light to come into the photograph. If your shutter speed is set to 500, then this is less exposure time, thus allowing less light into the photograph.
Another important thing to note with shutter speed is that it affects how motion is captured through the camera. Let’s use water and the shutter speeds mentioned above as our point of focus. If you shoot water at 1/60th of a second, then the photograph will capture the motion of the water. It will actually create “motion blur”, which is a term used in photography. This is because 1/60th of a second is a longer exposure time, which means it is slower. If you shoot water at a shutter speed set at 500, then you will have the ability to freeze the water because this is a fast shutter speed that is able to stop action in its place.
So how do shutter speed and ISO work together?
There are actually 3 elements that work together to create a good photograph; shutter speed, ISO, and aperture. But, to keep things simple in this beginner’s guide, we are going to focus our attention on shutter speed and ISO for now so that you can understand how these elements work together without getting overwhelmed with information.
If you haven’t noticed by now, both shutter speed and ISO are ruled by light and both can affect how much light enters the photo. This means they have to be able to balance each other out to get a perfectly exposed photograph. For the sake of explaining this correctly, our aperture is going to be set to f/8.0. All you need to know about aperture for now is that it is defined as the space where light passes through the lens. We’re also going to assume that we are indoors taking pictures of people at an event, which means there is not a lot of available light. So if our aperture is set to f/8.0, which means that not a lot of light is being allowed to pass through the lens, which is no good for taking photos of people.
This is where our shutter speed and ISO come into play. We know that the problem is that we need more light. So, maybe your first thoughts are to set your camera to a lower shutter speed because you know that the lower the shutter speed, the more your photo will be exposed to light. But, you also have to take into account that the lower the shutter speed, the more opportunity for the motion blur that we discussed earlier on to come into effect.
We definitely don’t want to take photographs of people and on every shot their face is producing a blur from them moving around. So, this means that we want a relatively faster shutter speed that will allow us to stop action. This means we’re going to set our shutter speed to about 100.
So, now we have to figure out where we should set our ISO because we’ve actually made our photograph darker at the sake of not having a lot of motion blur in our photographs. Well, we know that the higher we bump our ISO, the more light will pass through. This means we need to keep bumping up our ISO until we get the proper exposure. For the sake of this example, a good ISO would be 6400 because this high of an ISO will allow for a lot of light to hit the photograph.
In photography, you always have to evaluate light, especially because it’s constantly changing. The more you practice with these settings, the more you will understand how one affects the other. I hope that this guide has helped all of you eager photographers to get out there and start producing some amazing photographs. Just as a reminder, we’re always here to help. Feel free to contact us with any questions or concerns regarding your photographic endeavors.
The post A Beginners Guide: What You Need To Know About Shutter Speed and ISO appeared first on Advanced Media Integration.